
Screen Mark-Up

This is a Windows operating system application allowing you to capture your screen, at any time, and mark on it. In reality, this software only takes a picture of your screen and places it in front so you can be artistic with the picture.The possible uses include, creating/incorporating slide show presentations, hiding what is really on your screen from others, or just doodling and having fun. | |
|
Primary Buttons
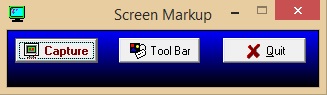 |
|
Tool Bar
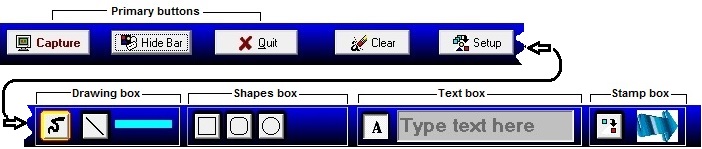
This is one complete Tool Bar across the bottom of your screen. The first 3 buttons on the far left are still your Primary Buttons as described above with 1 change.
Capture - (described above)
Hide Bar - This button has changed from above. It is no longer the Tool Bar, but serves the purpose to hide the Tool Bar. Or more correctly, return to the 3 Primary Button view as shown above.
Quit - (described above)
This button clears the screen of all mark-up.
This button accesses the setup for all of the proceeding Tool Bar buttons depicted below.
Drawing Box - With these two buttons you can select free-hand or straight line. Note that the color of the ink is depicted to the right of the buttons (light blue in this case). Plus, if you are drawing in "Highlight" mode, then that also will be depicted.
Shapes Box - Three shape choices to choose from. The outline color and the fill color as well as the pattern will be depicted to the right of the buttons.
Text Box - This is your on screen "Text" selector. When selected, the text provided will appear on your screen. You will then need to reposition the text to the desired location on your screen.
Stamp Box - This button allows you to place the depicted stamp on your screen. Go to the "Setup" button to select available stamps. Note that when the "Stamp" button is selected, it will be similar to the "Text" button in that the stamp will appear and you will need to properly position it on your screen.

"Next" will take you to the Download page.
